Mobile Digipeating: Increasing APRS Reception While Backpacking (1 of 2)
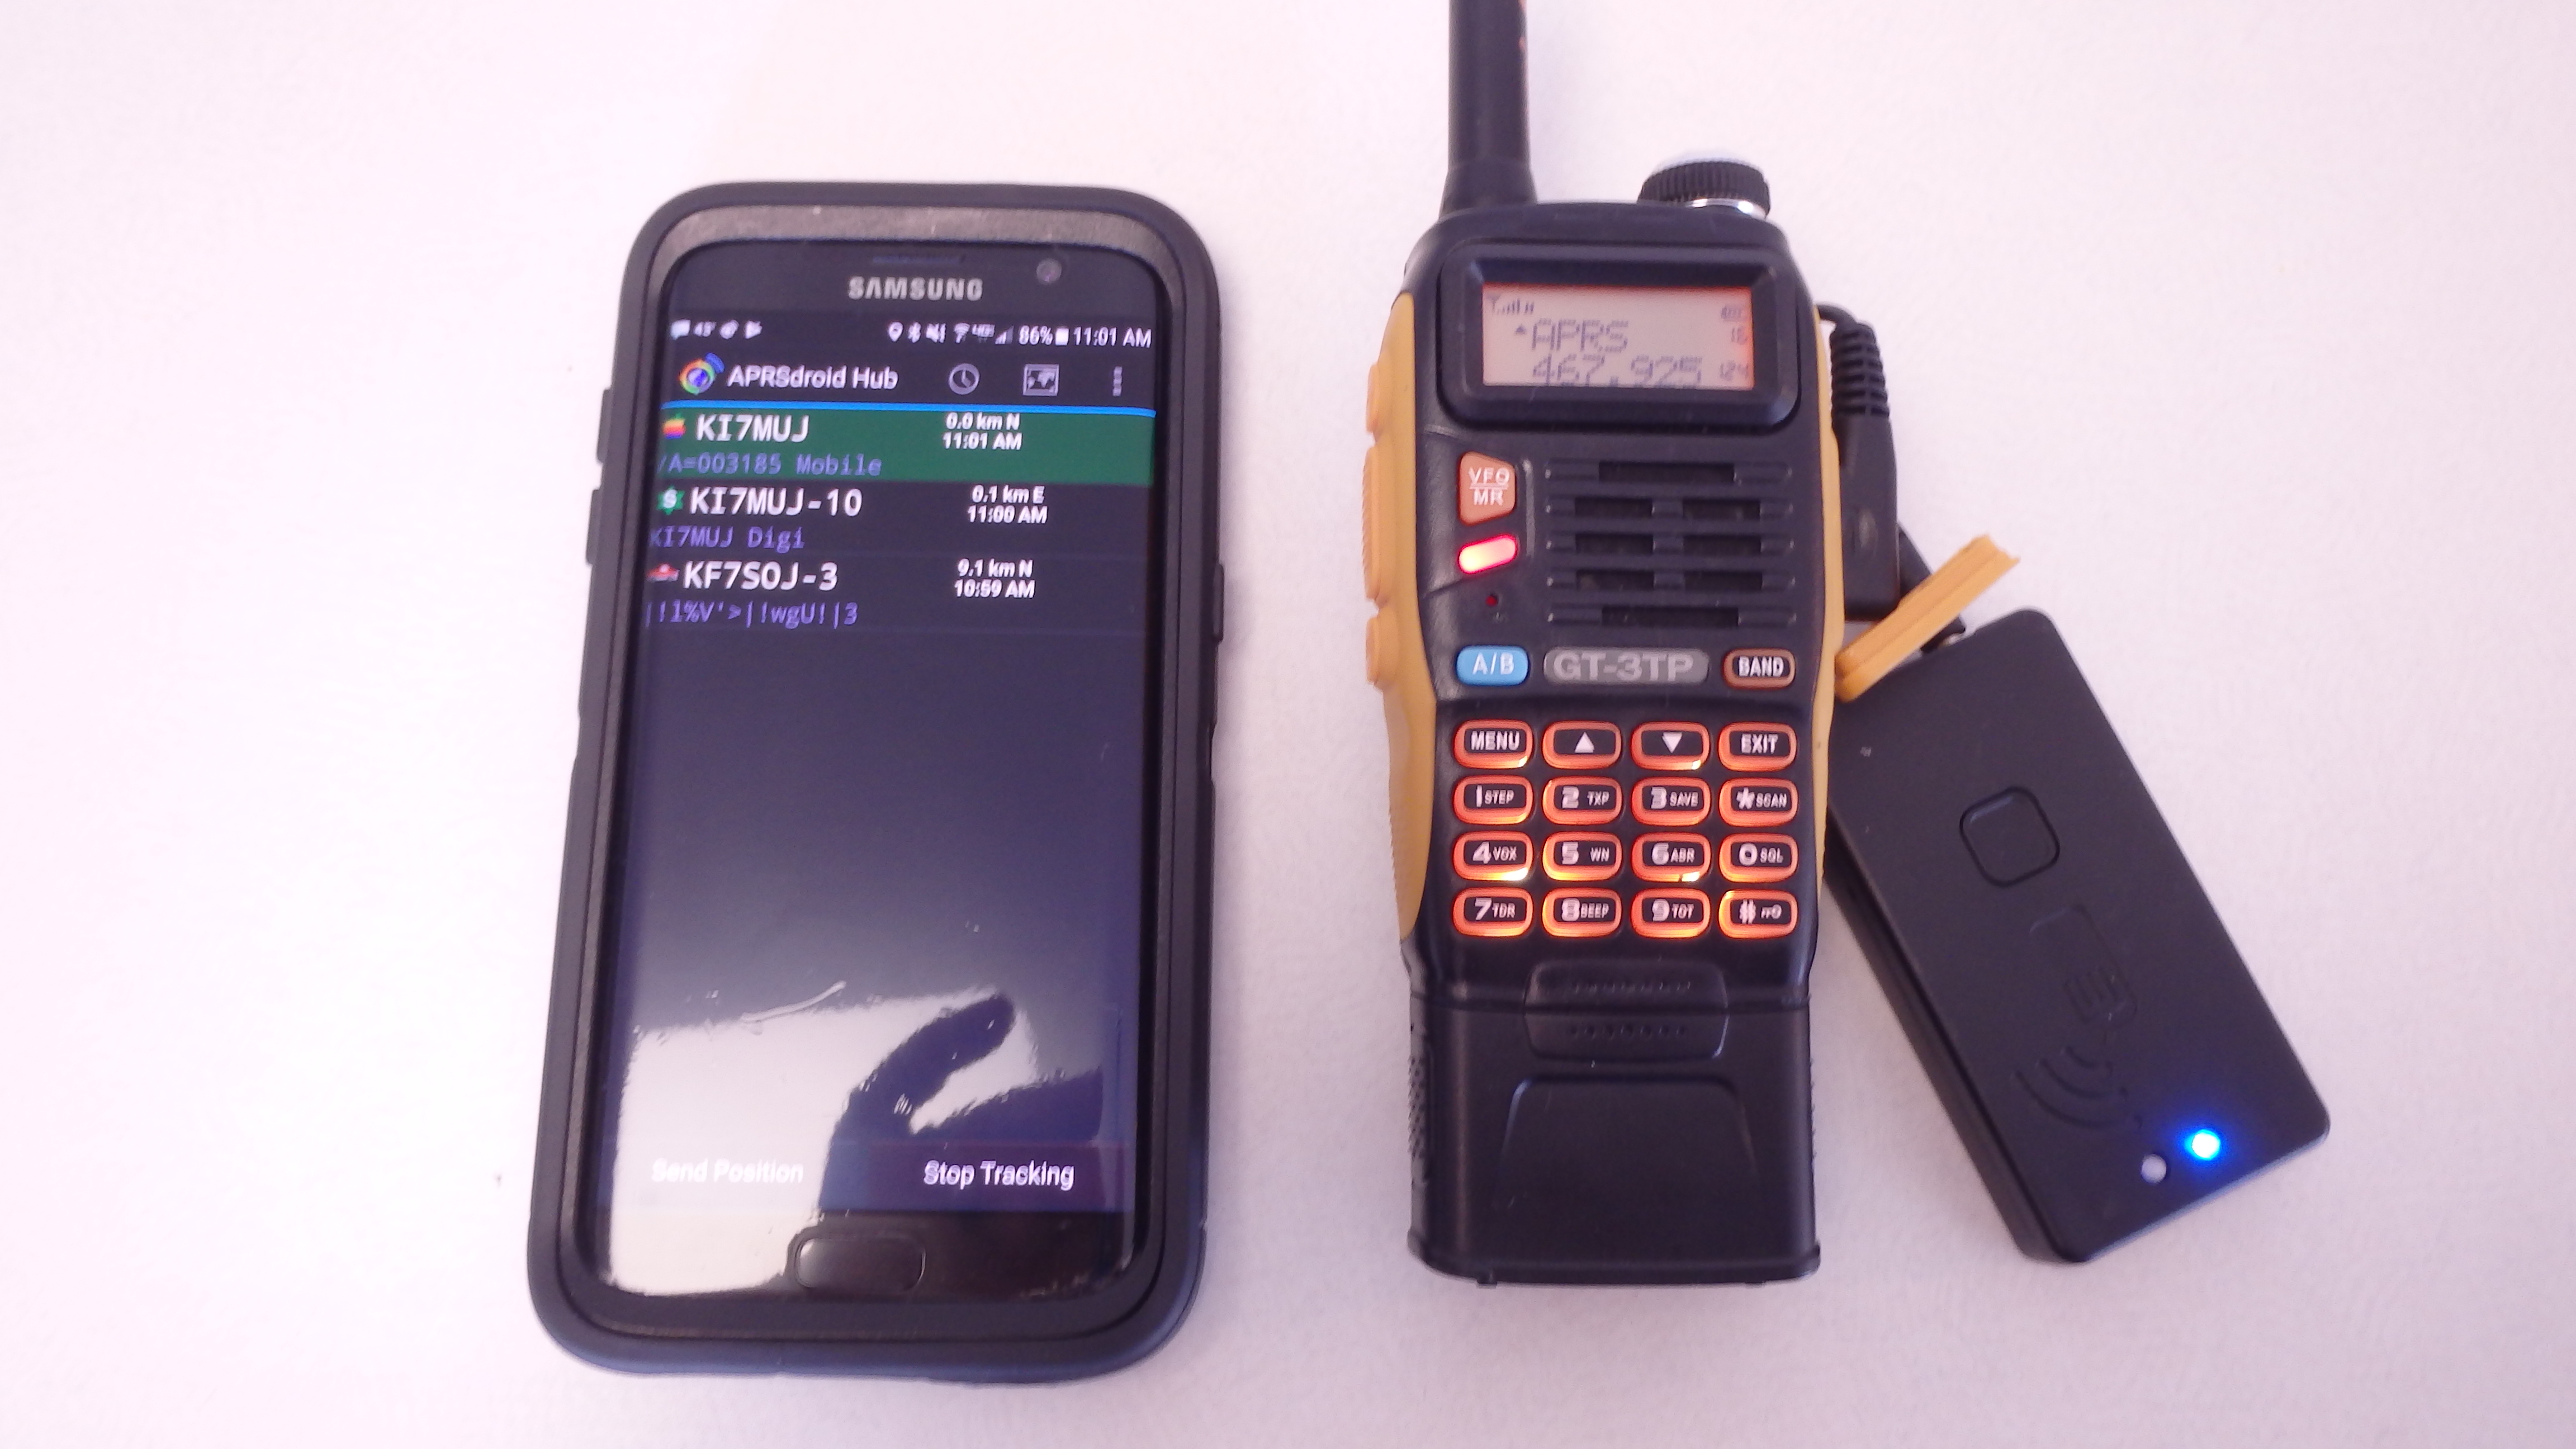
My handheld radio, running APRS thanks to the Mobilinkd Bluetooth adapter.
At times, you may find yourself unable to reliably use APRS while backpacking. Broken terrain and natural barriers can degrade your APRS transmission just enough to result in the total loss of packet information. Since APRS does not have a way to detect or recover dropped packets, some hikers get frustrated when they cannot use APRS on a backpacking trip. One way around this limitation is to setup a dedicated APRS digipeater that is located at the trailhead. This way, your weaker handheld radio can transmit an APRS message to a more powerful radio in your vehicle, which then transmits your original message at approximately ten times the power of your handheld. If you’re willing to invest a little money and time, this is not only an effective solution, but it’s also fairly easy to setup.
Although setting up an APRS digipeater may sound intimidating at first, most of the technical work has already been done by someone else and is well documented. The ease of installation also varies on your budget– you can have a mobile electronics installer perform some of the work, taking some of the wire running work off of your shoulders, for instance. If you’ve ever read an article that I’ve written, you would know that I tend to take the cheap way out whenever a budget is involved. For approximately $200, you can purchase and install a digipeating system capable of outputting 50-65 watts, dramatically increasing the chances of your APRS packets being heard by another APRS digipeater or igate. The first step in this process is to select a quality, yet inexpensive, radio.
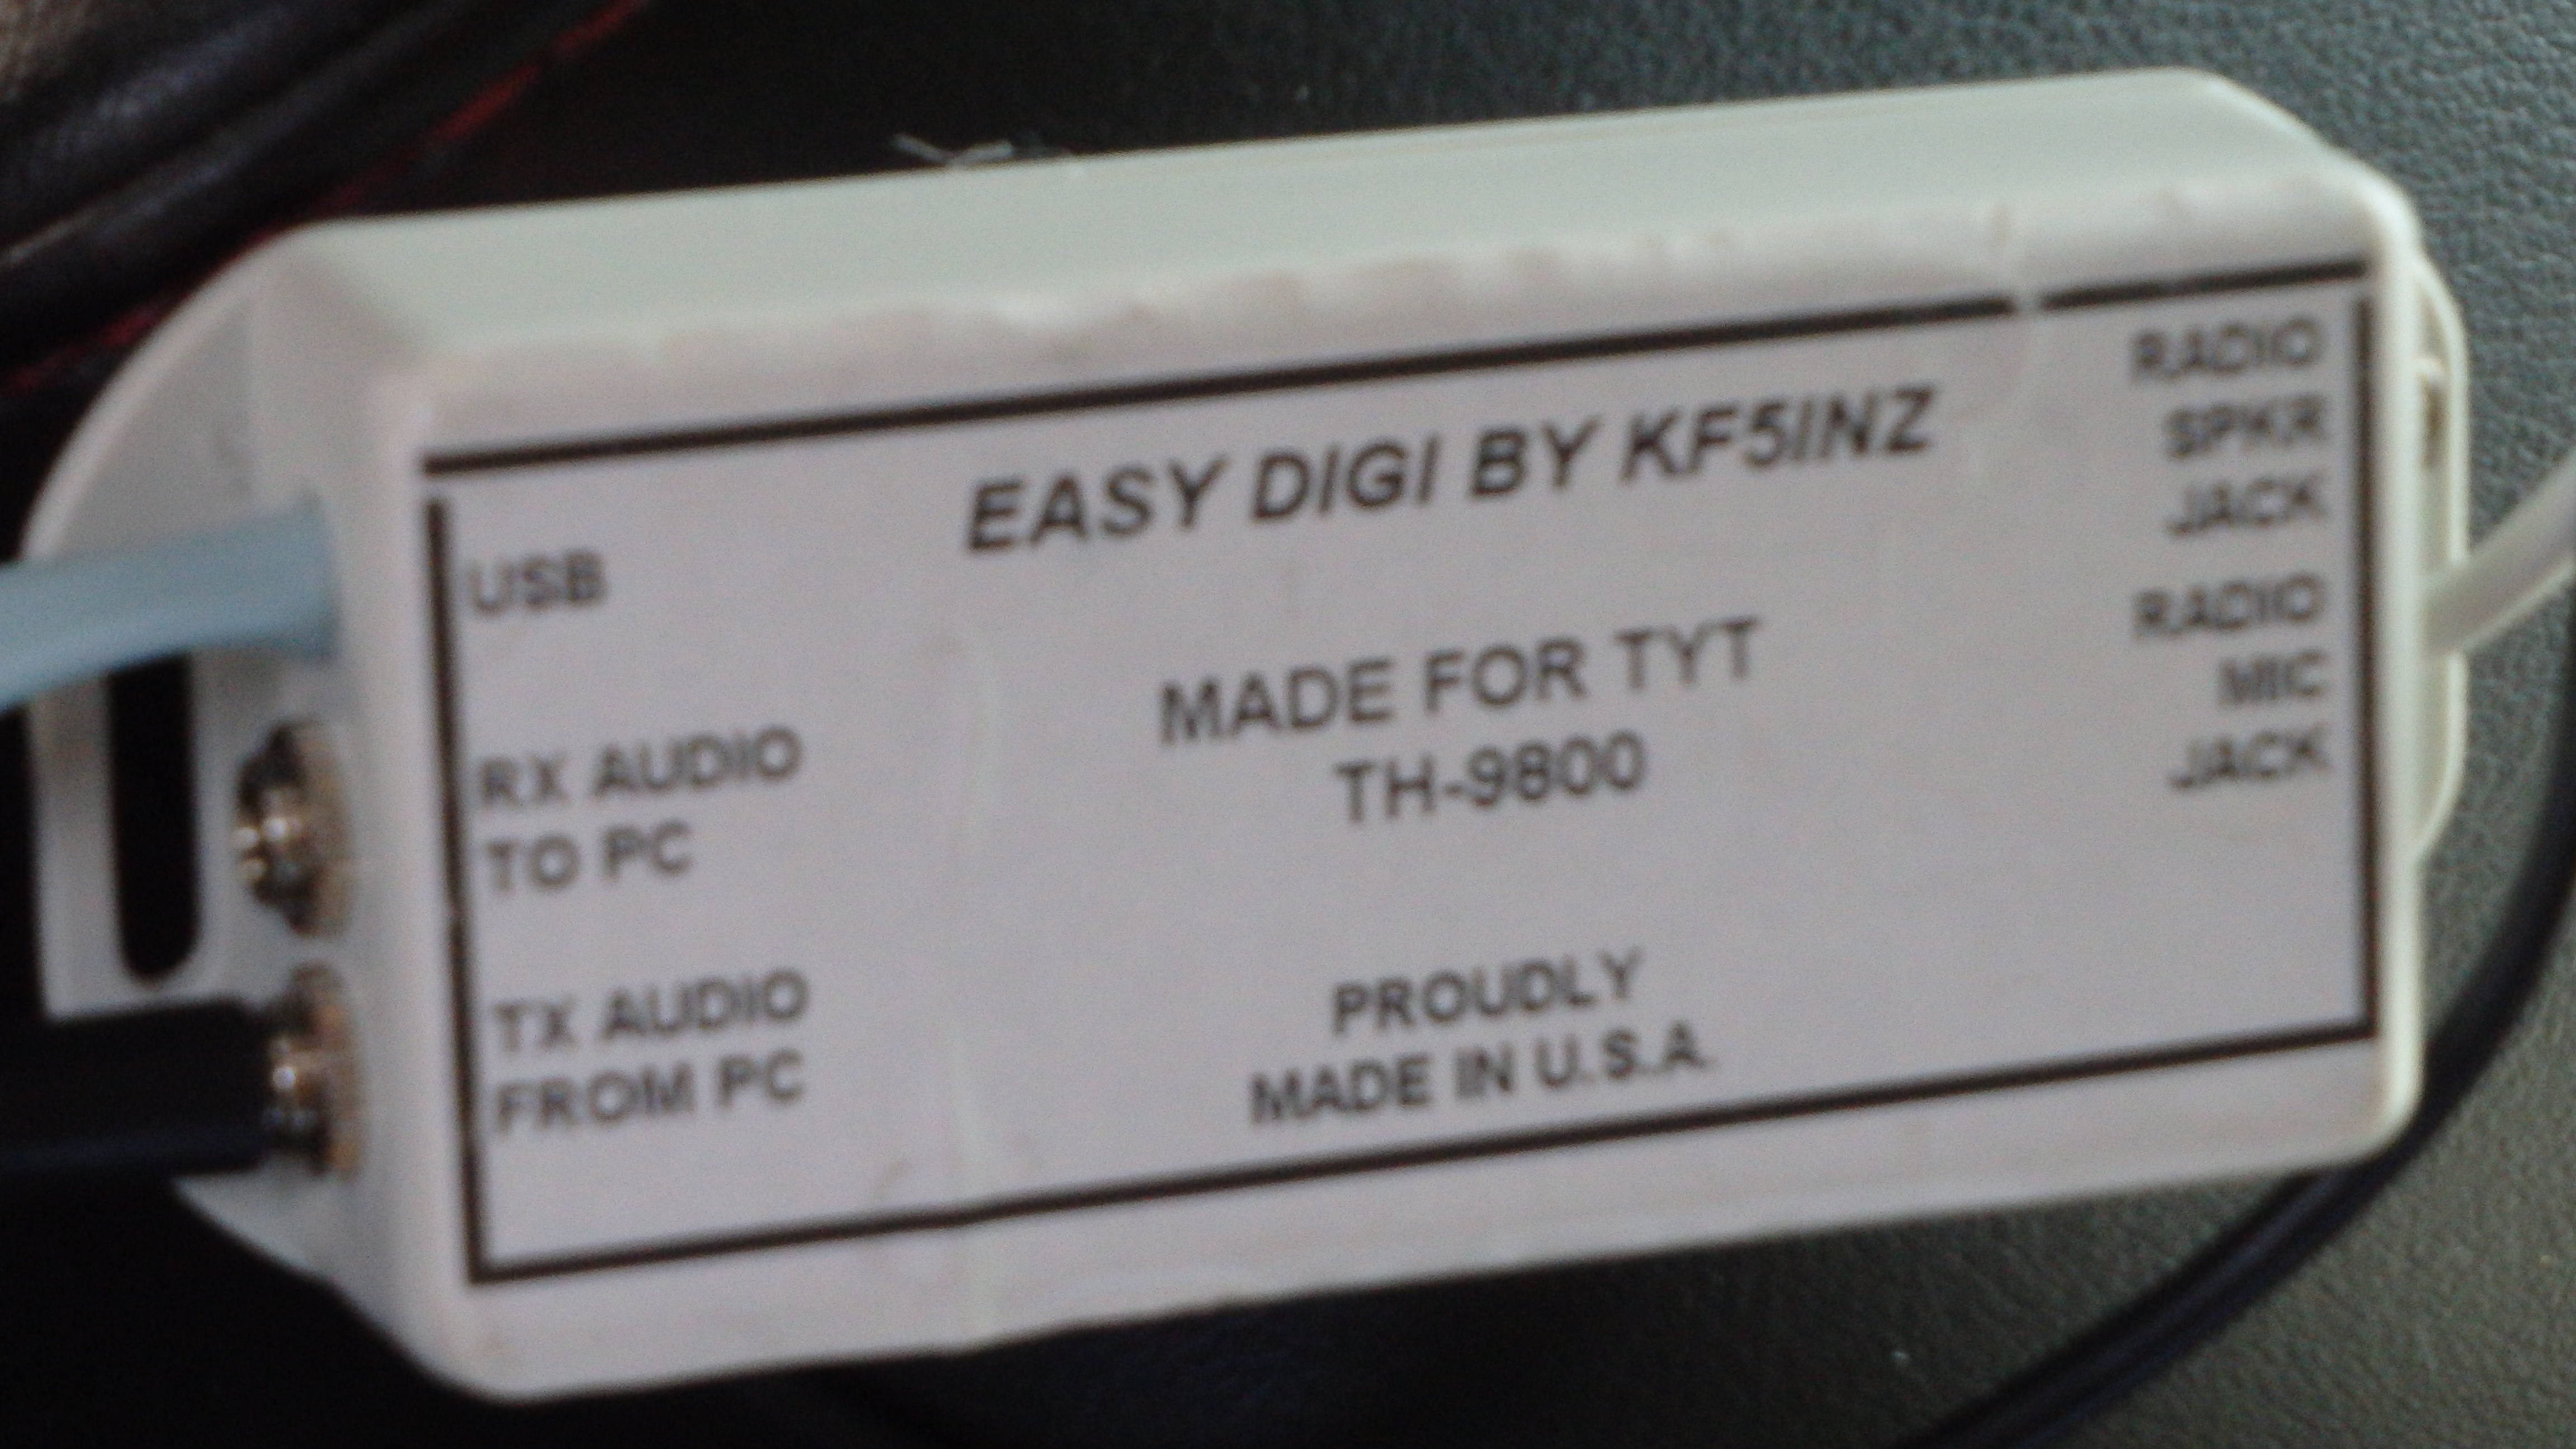
The Easy Digi interface for my TYT TH-9800 radio
For an APRS digipeating solution, the first obstacle to tackle (and the most critical) is to select a good 2-meter radio. The radio doesn’t have to be a quad-band radio, or capable of cross band repeat– a cheap radio like the Kenwood TM-281A (which currently sells for $135) will work well. The most important part about selecting your radio is that it has a proven and reliable way to interface it with a computer, and which other ham users have reported good signal quality with it. Sometimes interfacing the radio with a computer is as easy as soldering a few wires together, other times it’s significantly easier to purchase an interface for your radio. Clifford Wareham (N5CEY) offers a service that is a life saver with integrating your radio- he makes the “Easy Digi”, which consists of a USB port and two auxiliary jacks on one end, and a radio interface on the other. You can visit his eBay profile here: https://www.ebay.com/usr/cliffordwareham?_trksid=p2047675.l2559 which will allow you to purchase one of his easy-to-use interfaces for your radio. Once you’ve purchased your radio, you will then need to plan where and how to mount it in your vehicle.
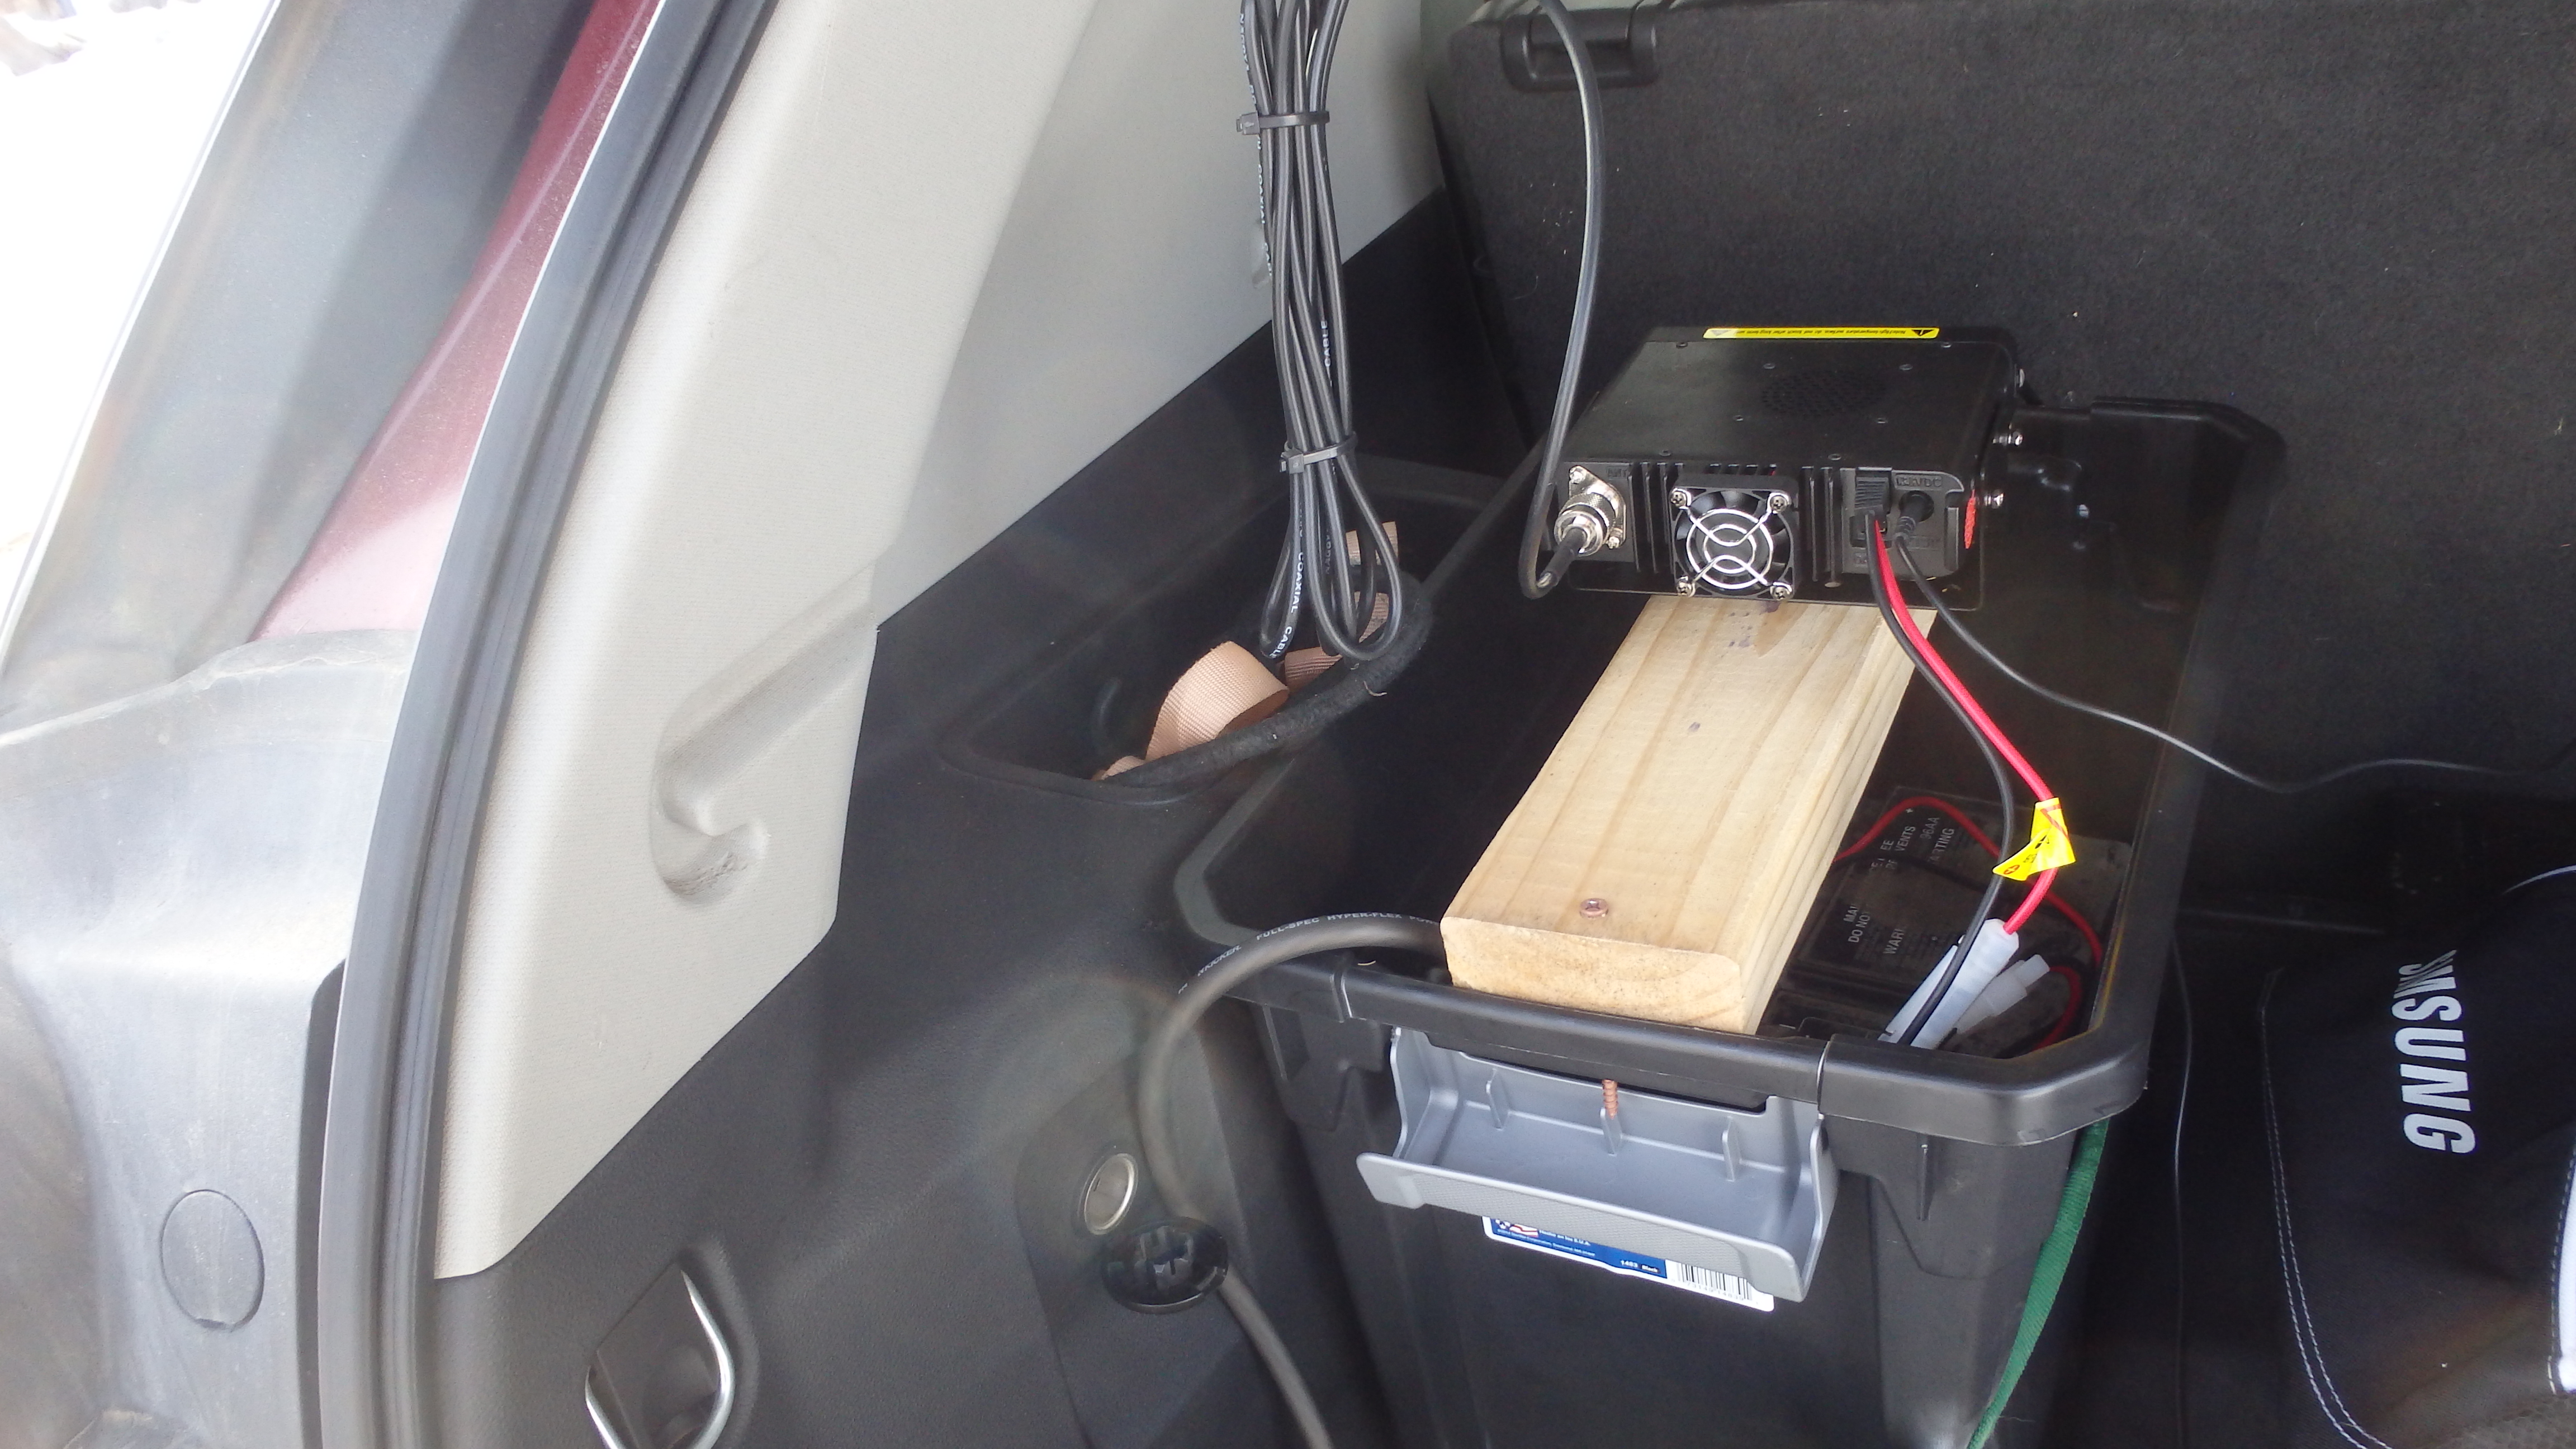
My setup, a TYT-TH9800 radio mounted above a redundant battery.
You might stretch your budget some when considering how to mount/setup your radio in your vehicle. Although you can wire your radio directly to your vehicle’s main battery (as many hams do), this could result in completely draining your vehicle’s battery if the APRS digipeater is used often, or if the computer doesn’t release push to talk (PTT) on your radio, resulting in your radio transmitting “dead air” until the battery in your vehicle fails. Consider purchasing a deep-cycle marine battery instead, which is designed for this type of electrical load, and typically only costs $100. Taking this a step further, you can then run a 10-gauge wire from your vehicle’s positive battery terminal to a switch, that is then connected to your radio’s dedicated battery. This would allow you to charge the battery for your radio while your vehicle is running, or isolate the battery when you’re backpacking. Once you’ve determined how you are going to install your new radio, you’ll need a good antenna for it.
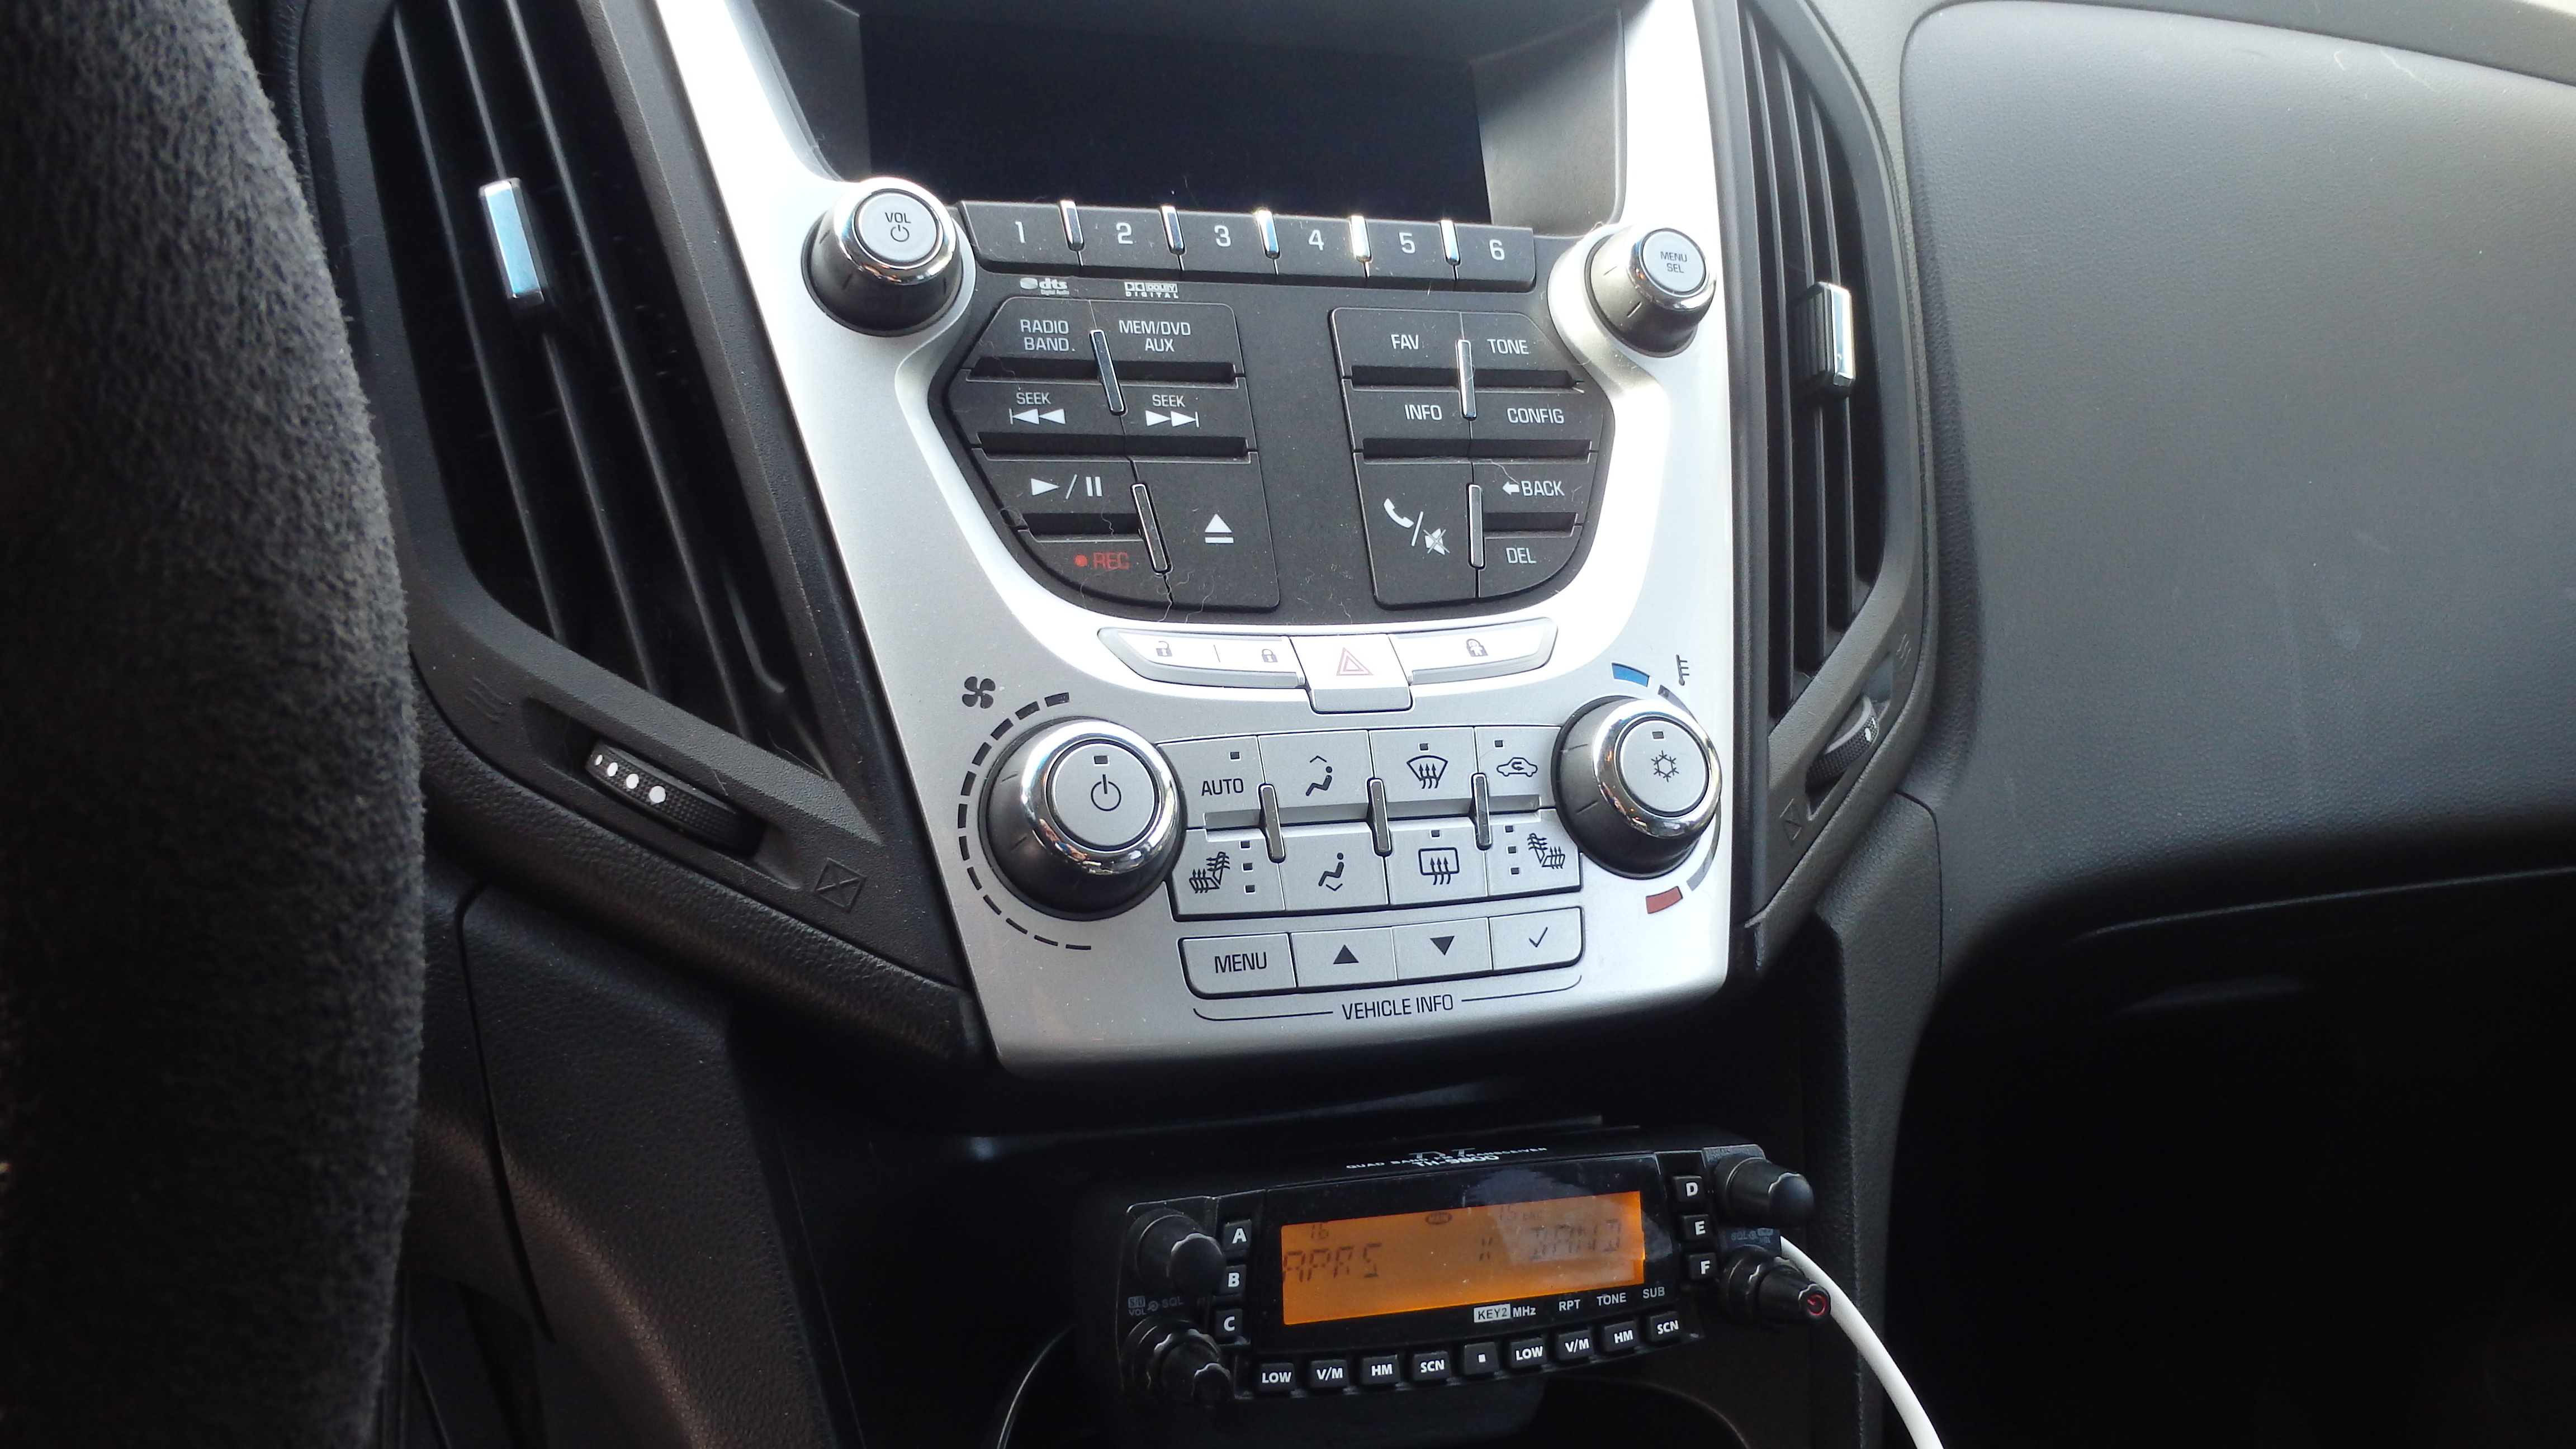
My TYT TH-9800, mounted beneath my car radio.
Just as you would want a good antenna for your handheld radio, you will want a good antenna for your APRS digipeater. Consider a ½ wave or 5/8 wave antenna for your vehicle. Due to the terrain you are hiking in, you will want the highest gain possible- otherwise, the APRS digipeater in your vehicle may not be able to reliably receive messages from your handheld. For those worried about appearance, there are many magnetic mounting options that you can setup that will allow you to place the larger antenna on your vehicle while backpacking, and to store it inside the vehicle when you aren’t using your radio. Make sure to mount your antenna near the center of the roof of your vehicle, as this results in the best radiation pattern possible. Once you have figured out your radio and antenna setup, there’s one last critical hardware component that you will need-– a computer.
Continue Reading- Mobile Digipeating: Increasing APRS Reception While Backpacking (2 of 2) –>