How to Make a Hobo Stove
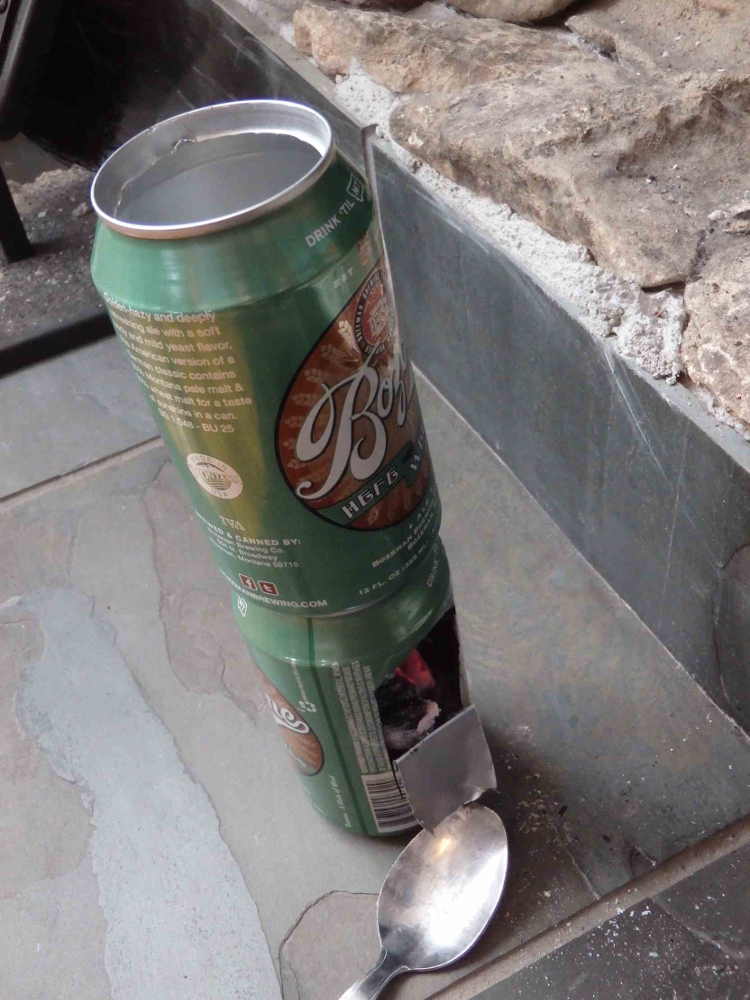
Completed Hobo Stove with Soda Can Pot
There we were- ten miles from the trailhead, and even further from civilization. We were all staring down in disbelief at what we saw. Our only pot for boiling water had a large crack in it, rendering it worthless. We tried to patch it together with tin foil, but the truth of the situation was that we were in trouble. We were in one of the most remote places in the Beartooth Mountains, and we were without a method of boiling water. Since our freeze dried foods required boiling water to make, we could not use much of the food we had brought on that hike. We had to leave early, and quickly.
That hike out was a death march- 12 miles in one day, through a huge rain storm that lasted over 6 hours. When we arrived to the vehicle I had parked at the trailhead, we were exhausted, soaking wet, and hungry. This all could have been prevented, if we just had a reliable backup method of boiling water. This was an easily preventable emergency, and I’m now going to show you how to make one of the easiest stove/pot combinations to make, in case you are in a similar situation.
It’s no secret that I enjoy a good beer in the mountains. It’s hard to beat a great beer, coupled with great scenery, after a strenuous day hiking. As it turns out, it’s a great thing that I usually pack a couple of beers in my pack, because those are the main components to the stove that I will show you how to make. If you would like, you can substitute beer cans for soda cans.
The first step is to empty the can, and rinse it out thoroughly. Make sure that no traces of the original beverage are still in that can- you don’t want to contaminate the water that you will be boiling. You’ll be using a knife in the next step, so hand the beer to your friend to drink. You will want to be careful when you are making these next cuts into the cans.
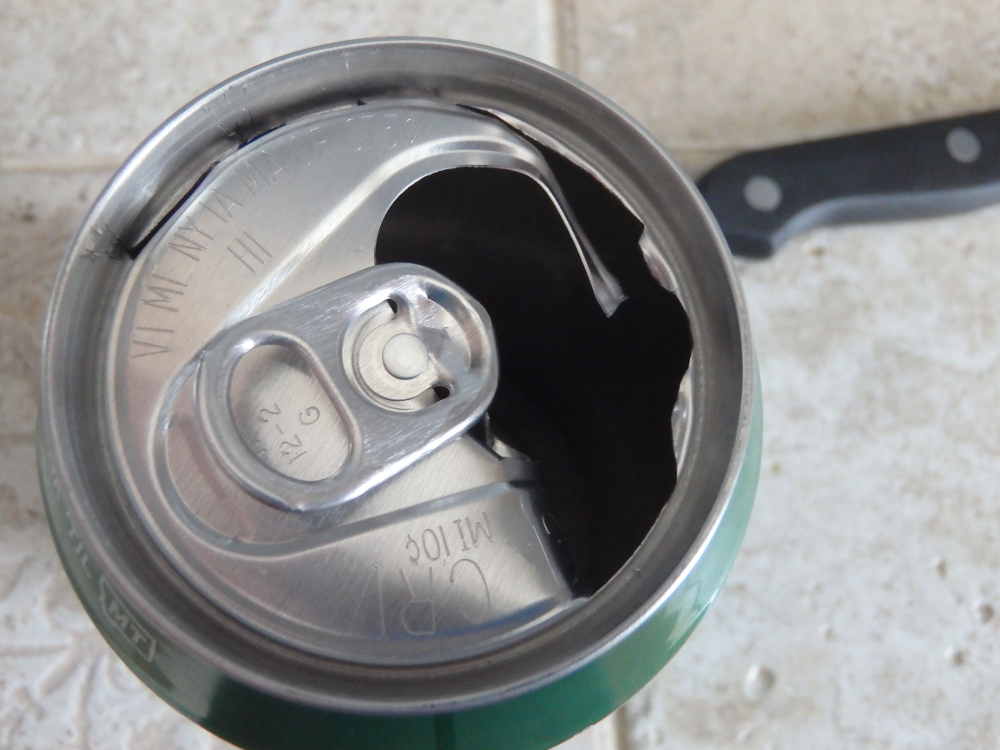
Cutting into the Can
Next, and very carefully, cut out the rim of the can. You’ll want a steady and sober hand while you do this, so either drink the beer the night before, or let a friend drink it (my friends are never reluctant to help out in this way). The idea here is to have one large puncture in the can, and then just rock the knife blade back and forth to cut along the rim of the can. Think of using the knife as a can opener, as opposed to actually cutting the metal. This will help prevent your knife from getting too dull.
Once you have the rim removed, you have a basic pot that will hold about 12 ounces of water (more than enough for a dehydrated meal). From here, you can simply use this basic pot with your camping stove, and be up and running within a few minutes. However, it’s not nearly as fun to just make a pot- let’s use a second can to make a stove.

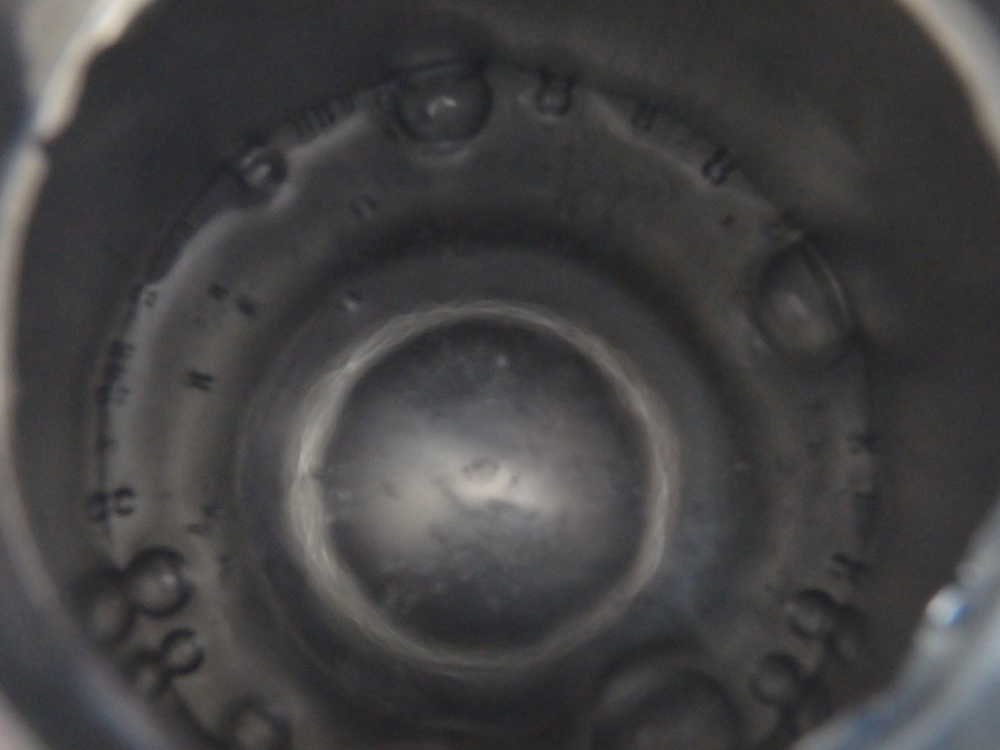
Door in Hobo Stove
Start by emptying your beverage, and removing the top of the can just as you did with the pot. Next, you will then cut a small incision along the body of the can, running from the bottom of the can, to the top of the can. Make another cut parallel to this one, and then a last cut to join the two parallel cuts. You should basically have a skinny, upside down U at this point. Pull down on this tab, and leave it attached to the can. This tab is how you will load and light your hobo stove.
From here, you can light your stove a couple of different ways. You can either place tinder into the stove and light it, or you can place hot coals into this stove. I guess in order for this to be a “true” hobo stove, we need to start the fire inside our stove.
Building a fire in a hobo stove is very similar to building a campfire- except that the fire will always want to smother itself. This is a huge pain when cooking with a hobo stove, because you need a hot fire to cook with. The best way that I have found is to build a big fire with lots of tinder, and then start adding pieces of wood, etc. Once you have a good, hot fire (the outside of your can will probably be black by now), you can then place your pot on top of your stove, and hopefully you will be able to boil water.
Hobo Stove Boiling Water
The other method to cooking with a hobo stove is quite easy- build a large fire at your campsite, and then place the hot, burning coals into the stove. Your stove will happily run with less oxygen than a campfire, and it will easily boil water. The only downside of this method is that it requires a good campfire, and lots of hot coals.
Hobo Stove Troubleshooting Tips
- The size of the hole on the stove itself is very important- if you’re having trouble with your stove staying lit, try making the hole larger. This lets in more air, which aids in combustion.
- If you are having issues with keeping the fire lit, try using smaller twigs and dead grass. A hobo stove isn’t designed to burn large pieces of wood, but yet smaller kindling and such.
- If you can’t seem to get the water to boil, decrease the amount of water in your pot. This is a small stove, and it has problems boiling more than 6 ounces of water at a time.
At best, your basic aluminum can hobo stove will last for a few fires. Don’t expect more than that, and don’t use this stove as your only stove. This stove is intended for emergency purposes only (and it’s my favorite excuse to carry a beer or soda in my pack)!